Build a Massachusetts fire pit that lasts: choose placement, dense stone or freeze-thaw brick, drained base, and pick gas or wood.
In Massachusetts, a built-in fire pit lasts when you get three things right: placement, material, and fuel.
If you want a fire pit that holds up after snow, ice, and freeze-thaw swings, focus on local setback checks, dense low-absorption materials, and drainage that moves water away from the base. For gas, plan for a licensed contractor and permits before the patio is finished. For wood, plan for smoke, ash, and more cleanup.
Here’s the short answer:
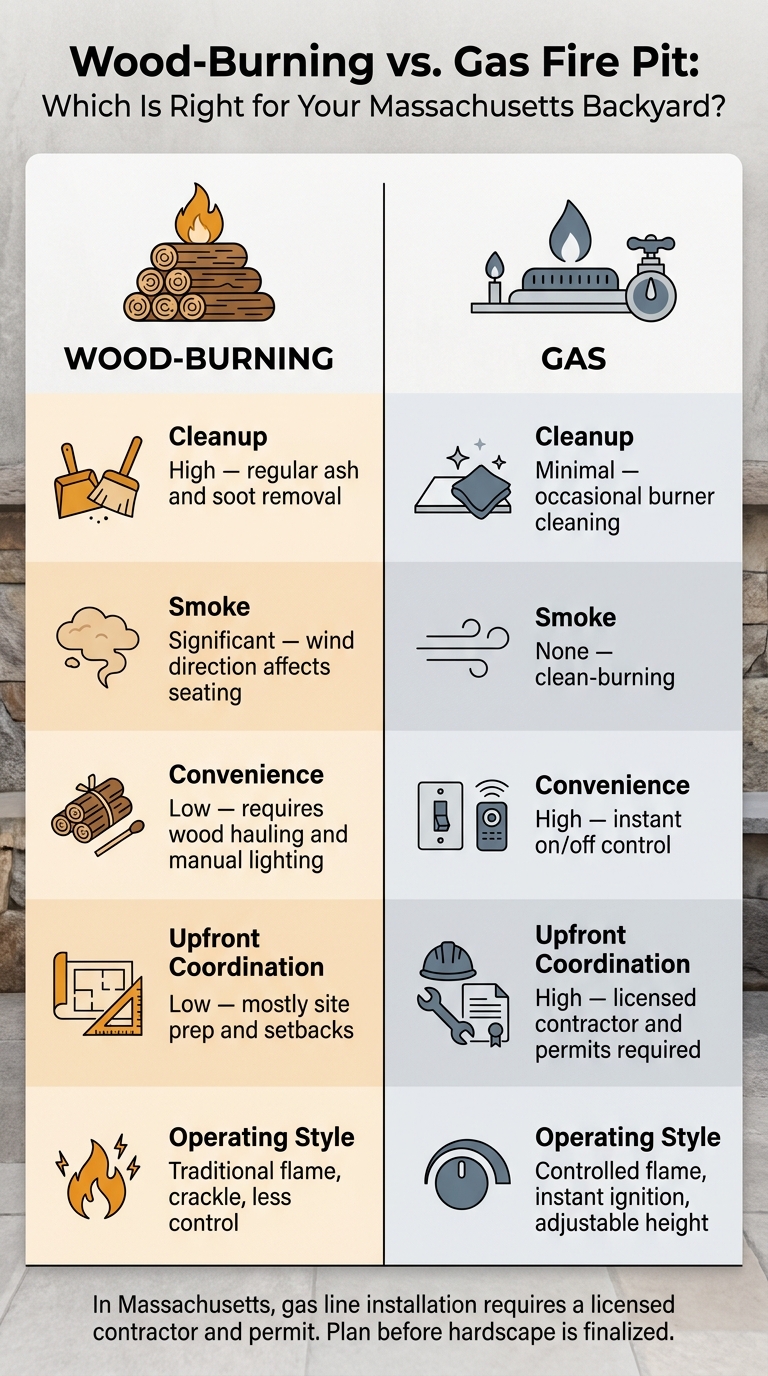
Wood-Burning vs. Gas Fire Pit: Which Is Right for Your Massachusetts Backyard?
| Topic | What tends to work best | Main risk |
|---|---|---|
| Placement | Check town rules early and keep clear space around the pit | Redesign, delay, or unsafe layout |
| Natural stone | Dense, low-porosity stone with a drained base | Spalling if water gets trapped |
| Brick | Exterior-rated brick with the right mortar | Face damage and failed joints |
| Concrete block | Reinforced core with cap and veneer | Water entry through exposed tops and joints |
| Wood-burning | Good for open patios with room for smoke drift | Ash, soot, and shifting smoke |
| Gas | Good for low-mess use and easy flame control | More setup work, permits, and utility planning |
Bottom line: the fire pit that usually holds up best is the one built in the right spot, with dense materials, a dry base, and the fuel choice settled early.
Placement comes first. Put a fire pit in the wrong spot, and you can run into safety problems and expensive redesign work. Pick the location early, and the whole project tends to go more smoothly.
Keep the pit away from anything that can burn or hold heat. Before you lock in the design, check the house, nearby structures, tree branches, drainage, and the slope of the yard.
It also helps to think of the fire pit, seating, and walking space as one layout. Not three separate parts. If you want a seat wall, include it in the full footprint from the start. The pit, the buffer around it, and the seating all have to fit inside the usable space while still leaving room for safe movement. Good placement can also help water move away from the area instead of pooling and freezing around the base.
Massachusetts does not have one setback rule that applies everywhere. Requirements change by municipality. So the only safe move is to check your town's rules before you finalize the design.
Permit needs are part of hardscape planning, and checking them early can help you avoid delays on larger patio projects. When you confirm local rules during planning - before the layout is locked in - you cut down the chance of avoidable redesigns and schedule changes.
Once placement is set, material choice shapes how well the fire pit deals with freeze-thaw cycles.
After placement, material choice has a huge effect on how a fire pit deals with Massachusetts freeze-thaw cycles. The main issue is simple: water gets into porous materials, winter hits, that water freezes, and the fire pit starts to crack.
Dense, low-absorption stones like granite and bluestone are some of the safest picks for Massachusetts fire pits. Granite is often listed at about 0.05% to 0.4% water absorption, which helps reduce moisture getting in before cold weather puts the material under stress.
That said, stone by itself won't save a bad build. The base, drainage, and mortar matter just as much. The base should slope 1/8 to 1/4 inch per foot so water drains away from the pit. Inside the firebox, use refractory mortar. On the outside, use an exterior-rated mortar made for freeze-thaw exposure. A fire-rated liner or firebrick on the interior also helps keep the structural stone cooler and drier during use.
The weak spot is spalling. Softer or more porous stone can trap water, and when that water freezes, the surface begins to flake. Once that starts, the damage tends to spread.
Brick can work well, but only if both the brick and mortar are made for freeze-thaw exposure. Decorative brick or standard facade brick is not the same as high-density, exterior-rated brick built for those conditions. When brick is porous, it takes in water. Then winter does the rest, and spalling shows up on the face.
In many cases, the mortar joints fail first. Freeze-thaw cycling weakens the joint, water gets in, and the joint cracks or falls out. Brick fire pits that last usually have:
They also need regular checks and repointing before winter if the joints start to wear.
Concrete block usually works best as the structural core, not the finished face. It's strong, fairly affordable, and it can be reinforced with rebar and concrete fill to help resist frost heave and soil movement. In that setup, the block carries the load, while stone, brick, or another veneer gives the fire pit its finished look.
Problems start when block is left exposed or poorly capped. Water can get in through open joints or the top of the wall, soak the block, and lead to cracking over time. A dense cap with a slight overhang helps shed water. Tight exterior joints matter too. So does using exterior-grade mortar or adhesive and making sure the veneer is bonded the right way.
Bottom line: dense natural stone tends to last the longest, brick needs the strictest material specs, and concrete block is usually best when it's protected as a structural core.
Once the structure is set, fuel choice shapes the layout, cleanup, and utility needs.
Fuel choice is more than a personal pick. It changes the pit’s size, the seating layout, where smoke drifts, how much cleanup you’ll deal with, and how long the job may take. Make this call early so the rest of the plan doesn’t need to double back.
Put simply: fuel choice affects the footprint, cleanup, and utility planning.
| Feature | Wood-Burning | Gas |
|---|---|---|
| Cleanup | High - regular ash and soot removal | Minimal - occasional burner cleaning |
| Smoke | Significant, and wind direction matters | None - clean-burning |
| Convenience | Low - requires wood hauling and manual lighting | High - instant on/off |
| Upfront Coordination | Low - mostly site prep and setbacks | High - licensed contractor and permits |
| Operating Style | Traditional flame, crackle, less control | Controlled flame, instant ignition |
After you choose the fuel, the next issue is water drainage and winter survival.
Wood-burning fire pits give you the crackle, smell, and radiant heat many people picture in a backyard setup. That’s the upside.
The downside is the day-to-day work. Ash and soot need regular cleanup. Smoke can also turn a nice evening into a game of musical chairs if the wind shifts, so check the prevailing wind before you lock in the seating layout. And place the pit on non-combustible hardscape, not decking or dry grass.
Gas fire pits are easier to live with. There’s no ash to scoop out, no smoke blowing across the patio, and no stack of firewood to haul around. You turn the flame on and off right away, and you can adjust the flame height with much more control.
The tradeoff shows up before installation starts. In Massachusetts, gas line installation requires a licensed contractor and permit. Plan the gas line before the hardscape goes in, or you may end up cutting finished surfaces later. If you go with gas, bring a licensed contractor into the design conversation early, not after the patio layout is already set.
Once the fuel choice is locked in, winter detailing becomes the main focus.
Once the material and fuel choice are set, winter detailing helps keep the build in shape.
Built-in fire pits tend to last longer when water drains away instead of sitting in the masonry. That starts at the base. Build on a compacted, well-graded foundation so meltwater flows away from the fire pit, especially on sloped sites.
It also helps to keep mortar joints tight and fix cracks or gaps as soon as you spot them. If moisture gets into the joints, freeze-thaw cycles can do a lot more damage over time.
After each Massachusetts winter, do a quick walk-around before using the fire pit again. Check for loose caps or stones, and pay close attention to anything that shifts when touched. Movement like that usually means the cap or stone has loosened and moisture is getting into the core. Look for crumbling or missing mortar between stones or bricks. Small gaps are worth fixing before another freeze cycle widens them.
Check the ground around the base too. New pooling water, soft spots, or a muddy area near the slope can point to drainage trouble or a base that has stopped shedding water the way it should. Those are the small issues that turn into spring repairs when left alone.
Oliver Enterprises sees this pattern every season in North Andover: the fire pits that hold up are the ones where drainage, tight joints, and early repairs were treated as part of the original design, not something added later.
It depends on the scope of the installation and your municipality. Under the Massachusetts State Building Code, permanent masonry fire pits and gas-line hookups usually require a building permit.
But here’s the catch: rules can change from one town to the next. So don’t assume there’s one standard that applies everywhere. Before construction starts, check with your local building department to confirm zoning, permit, and safety requirements.
For comfortable seating in a Massachusetts backyard, a built-in fire pit should have a circular surround about 5 to 7 feet in diameter. That size usually fits 8 to 10 people without taking over the yard.
It also helps to add a gravel or pea stone edge around the outside. In Massachusetts, that detail matters. It gives water a place to drain during heavy spring rains and winter snowmelt, instead of letting moisture collect around the fire pit.
Yes. Built-in fire pits made from durable materials like natural stone, brick, or high-quality concrete pavers are built to handle Massachusetts winters. Still, using a cover is a smart move.
Massachusetts usually gets 30 to 40 freeze-thaw cycles each winter. That matters because water can seep into small pores and mortar joints, then freeze and expand. Over time, that can lead to cracking, spalling, and ice buildup. A cover helps keep that moisture out and lowers the chance of that kind of wear.