Hardscaping in North Andover: timeline, permits, materials, construction, costs, and maintenance tips for durable, freeze‑thaw results.
Hardscaping in North Andover involves transforming outdoor spaces with structural elements like patios, retaining walls, and walkways. It’s not just about looks - it solves issues like drainage, steep slopes, and uneven terrain. Here’s what to know:
Costs vary by project type - patios range from $15–$30 per sq. ft., retaining walls $20–$50 per sq. ft., and outdoor kitchens start at $8,000. Plan early to avoid delays with permits and material shortages. A well-executed hardscape adds both function and durability to your outdoor space.
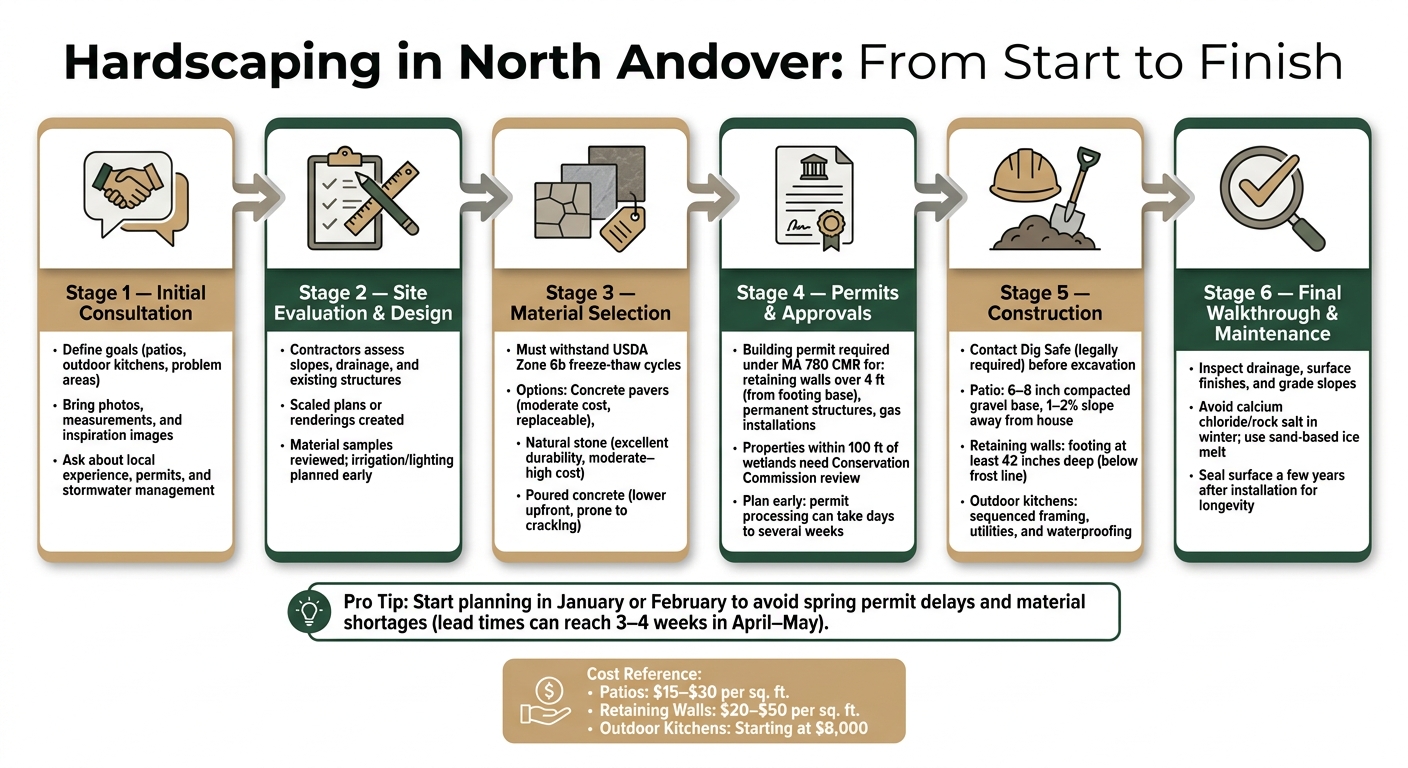
Hardscaping in North Andover: 6-Stage Project Process
The first consultation is all about defining your vision and fine-tuning the project estimate.
Think about how you want to use your outdoor space. Is it for hosting summer barbecues, creating a peaceful retreat after a long day, or building a fully equipped outdoor kitchen? The clearer your vision, the easier it is for a contractor to recommend practical solutions for your property.
Take note of any problem areas - like spots that stay soggy, steep slopes, or aging structures - that need attention. Also, separate your must-haves from your "nice-to-have" features. This helps your contractor focus on the essentials while staying within your budget.
To make the most of your initial meeting, come prepared with:
This preparation is especially helpful when dealing with North Andover's unique challenges, like sloped terrain or specific permitting requirements.
Before you commit, make sure to ask these key questions to understand their approach:
A contractor who takes the time to guide you through the planning process can make the entire project run more smoothly. One North Andover homeowner, Cathie B., shared her experience after a wall replacement and lawn regrading project:
"We changed our minds about 400 times about what we wanted before the project actually started, and they were unfailingly patient and always helped us find the most economical and aesthetically appropriate solution."
Once your goals are set, the focus shifts to your property. This stage is all about assessing the current conditions, identifying necessary changes, and visualizing how it will all come together.
A detailed site evaluation provides essential data for the project. Contractors measure slopes, check for drainage issues, and assess existing structures. They also document utility locations, walls, steps, and vegetation that might influence the design.
Slope measurement is particularly critical in North Andover. Even a slight incline can significantly impact design plans. Accurate calculations ensure patios are level and stone staircases remain stable. Drainage is another key factor. By collecting site-specific data, contractors can create a drainage strategy tailored to your property. These measurements form the backbone of the design phase, ensuring everything is planned with precision.
After gathering all the necessary details, the next step is turning them into a workable plan. Contractors use the data to create scaled plans or renderings, weighing options like straight versus curved layouts or single-level versus tiered designs. This is also the time to think ahead. Features like irrigation, lighting, or gas lines should be included in the plans early on to avoid tearing up completed work later.
At Oliver Enterprises' North Andover headquarters, homeowners can review these plans, compare material samples, and refine the project scope. This hands-on approach helps prevent unexpected changes once construction begins.
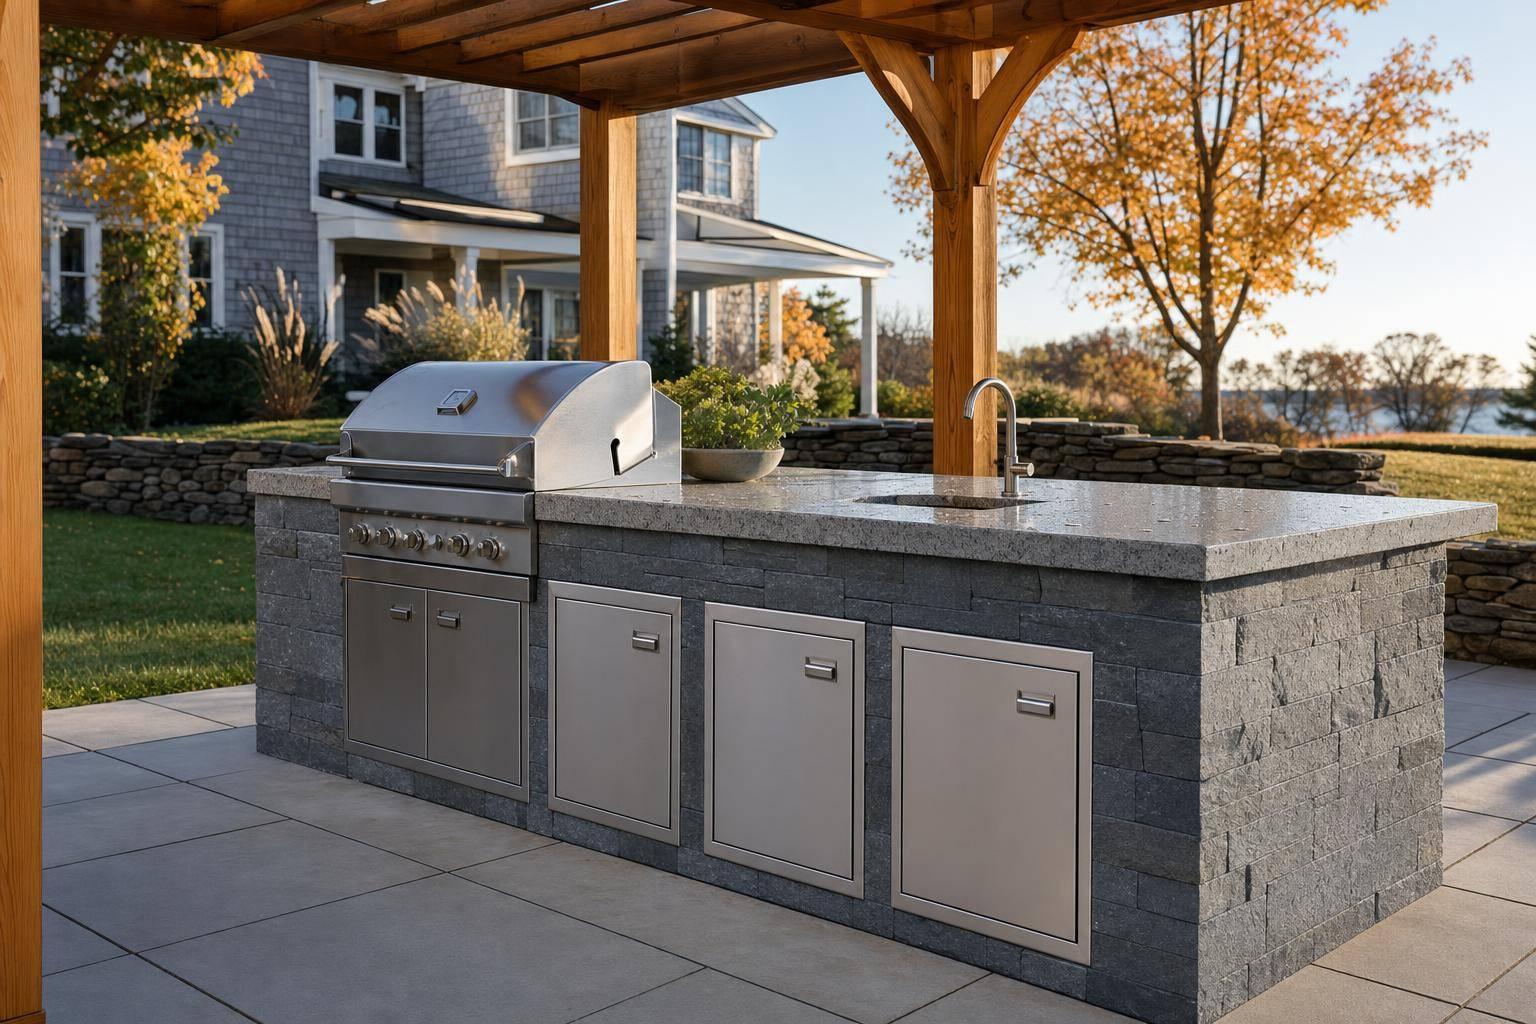
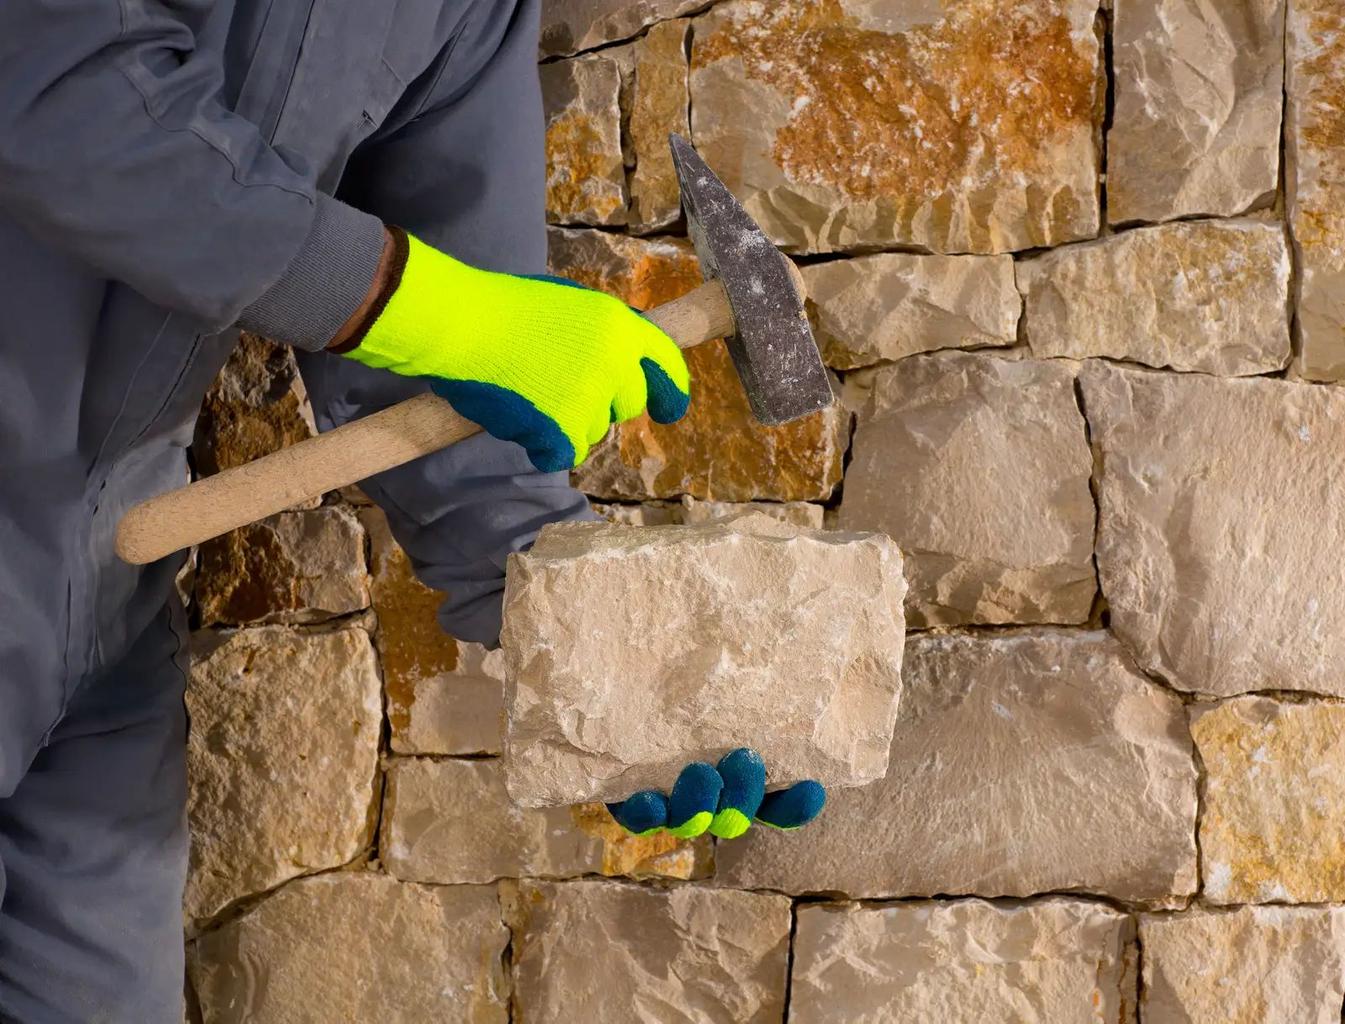
Once the design is finalized, choosing the right materials is the next step. In USDA Hardiness Zone 6b, materials need to withstand freeze-thaw cycles, which is a major consideration for durability. Seasonal availability and lead times also play a role, especially in spring when demand spikes.
Concrete pavers and natural stone are popular choices in this region. Both are durable and repair-friendly, unlike poured concrete, which often cracks over time. Here’s a quick comparison:
| Material | Durability in Zone 6b | Repairability | Relative Cost |
|---|---|---|---|
| Concrete pavers | Strong; handles freeze-thaw well | Individual units replaceable | Moderate |
| Natural stone | Excellent; long-lasting | Can be reset; blends with existing stonework | Moderate to high |
| Poured concrete | Prone to cracking over time | Difficult to patch cleanly | Lower upfront |
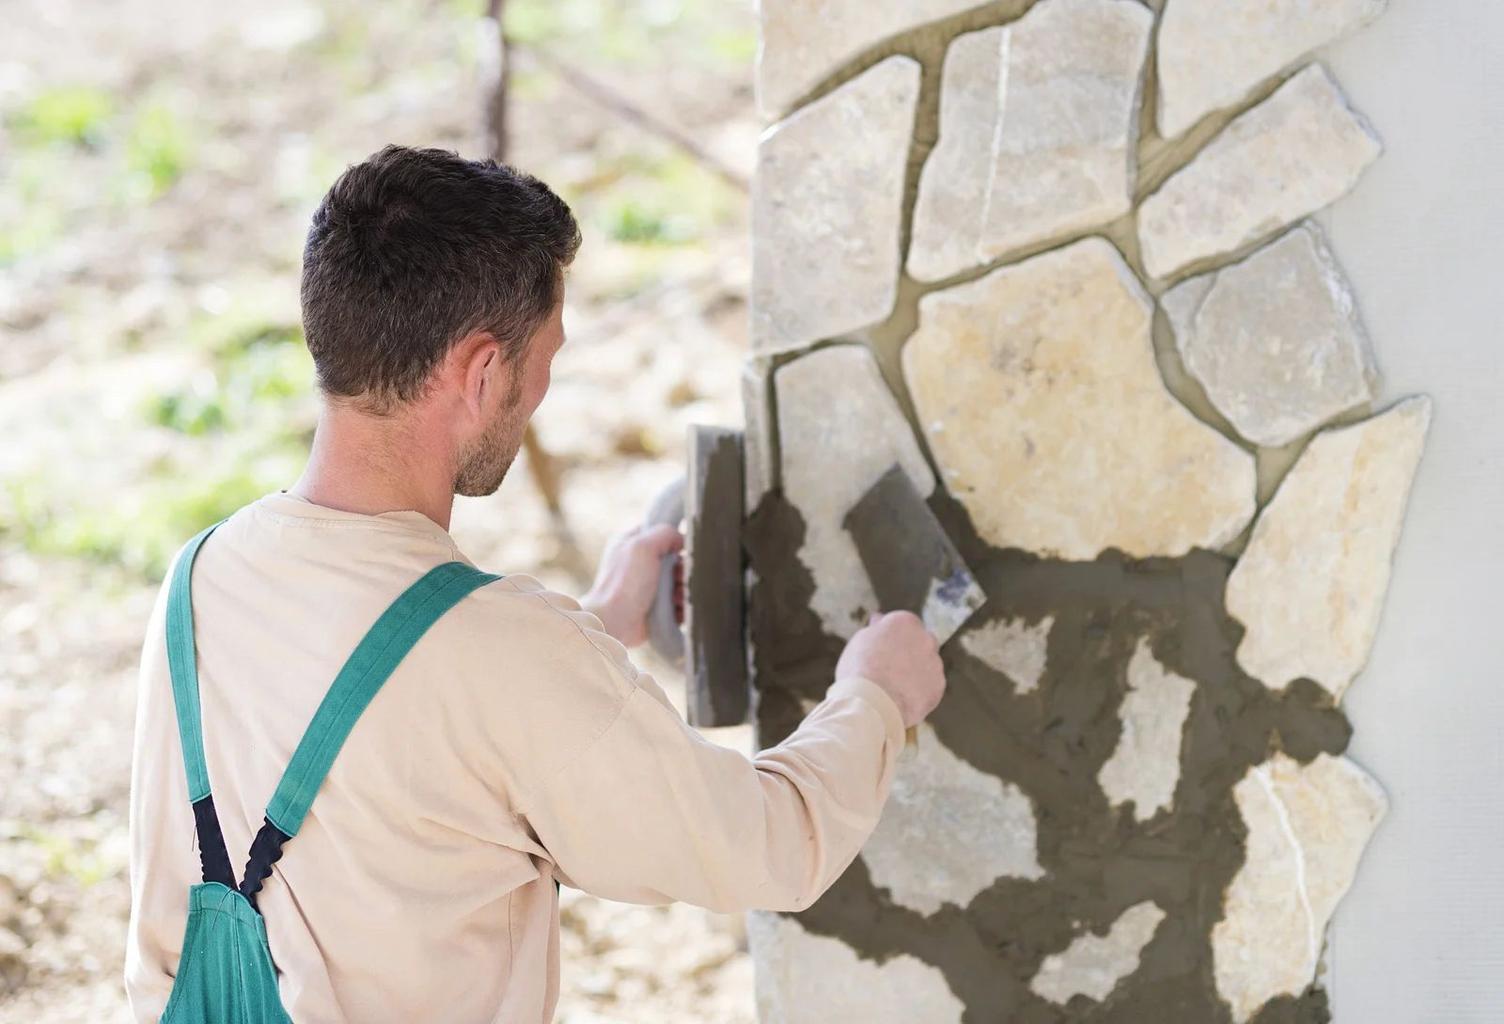
For properties with slopes or existing stonework, new materials should complement what’s already there. A seamless blend between old and new stonework is a hallmark of skilled craftsmanship and something to discuss when finalizing your design plans.
Once your design and materials are finalized, it’s time to tackle permits and approvals. Ensuring all legal requirements are met upfront is critical to keeping your project on track.
In North Andover, many hardscape projects require a building permit under MA 780 CMR (the Massachusetts State Building Code). Here are some common examples:
One tricky detail is the retaining wall height threshold. A wall that seems to be 3 feet tall above ground might exceed the 4-foot limit once the footing depth is included. Overlooking this can lead to permit rejections or expensive redesigns. If a retaining wall does require a permit, you’ll also need an engineered design, which can extend the pre-construction timeline.
If your property is within 100 feet of a wetland resource area, the Massachusetts Wetlands Protection Act applies. This means your project will need approval from the North Andover Conservation Commission in addition to standard building permits.
The Conservation Commission review is a formal process that can add several weeks to your timeline. Homeowners can use the North Andover Conservation Department’s online portal to manage filings and track progress. Before signing any contracts, confirm whether your property falls within the 100-foot buffer zone. Running into this requirement mid-project can halt work unexpectedly.
Several factors can disrupt hardscaping schedules in North Andover:
To avoid these delays, start planning early - ideally in January or February. This gives you time to finalize permits, secure materials, and avoid the spring rush. Waiting until March or April often pushes projects into midsummer or beyond.
Once permits and scheduling are in order, you’re ready to move on to site preparation and construction.
With permits in hand and materials ready to go, it's time to bring the designs to life. This stage is where careful planning meets hands-on work, and how well this phase is executed will impact the longevity of the project. Here's a breakdown of what happens - from site prep to the final inspection.
Before any digging begins, contractors must contact Dig Safe, a free utility marking service in Massachusetts, to identify underground lines. This step is not just a precaution - it's legally required to prevent accidents involving gas, water, or electrical lines during excavation.
Beyond utilities, preparation also involves protecting existing landscaping, ensuring access for equipment, and deciding where materials will be stored. Addressing these logistics upfront helps avoid unnecessary delays once construction begins.
The secret to long-lasting hardscapes lies in what’s beneath the surface. Proper excavation, base preparation, and compaction create a solid foundation that prevents issues like shifting or cracking later on. Each type of project has its own set of requirements to ensure durability:
Once construction wraps up, the contractor conducts a final walkthrough to confirm everything aligns with the design plan. Together, you’ll inspect the site to ensure proper drainage, consistent surface finishes, and that grades slope away from the house. For projects blending new and existing masonry, check that the transitions look intentional and seamless.
"We are especially impressed with how beautiful the new wall is and how it seamlessly blends into the old wall." - Cathie B., Creative Director
Maintenance for hardscaping is relatively simple compared to landscaping. Regular cleaning to remove dirt and debris is usually enough in the first few years. For winter, avoid using calcium chloride or rock salt, as these can damage pavers and natural stone. Instead, opt for sand-based ice melt products. A few years after installation, sealing the surface can help extend its lifespan and reduce upkeep in the long run.
A successful hardscaping project in North Andover doesn’t happen by chance. It’s the product of careful planning, thorough site evaluation, and a step-by-step approach that ensures every detail is addressed. From setting clear goals to understanding site conditions, securing permits, and focusing on proper construction techniques, each phase plays a crucial role.
Skipping essential steps - like ensuring the correct base depth, reviewing requirements with local commissions, or asking the right questions - can lead to expensive setbacks. Long-lasting hardscapes are a testament to the skill and structured methods of experienced contractors who understand the importance of doing things the right way.
"From concept to construction, every detail is considered, and every finish is executed with precision." - Oliver Enterprises
A hardscaping project in North Andover usually spans several weeks, though the exact timeline depends on the project's size and complexity. Key steps such as consultation, design, permitting, and construction all play a role in determining how long it will take. For example, obtaining permits for structures taller than 4 feet or those located near wetlands can cause delays. Material availability and weather conditions can also affect progress. While a straightforward patio might be completed in about a week, more extensive projects like retaining walls or outdoor kitchens could take several weeks or even months to finish.
Yes, some hardscape structures in North Andover require permits. These include retaining walls taller than 4 feet, permanent installations like gas-powered features, and any projects near wetlands. Wetland-related projects might also need approval from the Conservation Commission. Always review local regulations to stay compliant.
Before committing to a hardscape project, it’s important to ask the right questions to avoid surprises down the road. Here are some key points to cover with your contractor:
Getting clear answers to these questions can help set the stage for a successful and stress-free project.